পণ্য


.svg)

.svg)
Boost your visibility with smart advertising strategies.

Updated Jan 2026
Welcome to the world of e-commerce! If you are just starting your journey with GearLaunch, you might be hearing a lot about "data" and "tracking." It can sound intimidating, but it is actually the secret weapon successful sellers use to grow their businesses.
This guide simplifies everything. We will walk you through what the Meta Pixel is, how to set it up easily on GearLaunch, and introducing the next step-the Conversions API-that ensures you never miss a sale in your reports.
Think of the Facebook Pixel as a friendly bridge between your GearLaunch store and your Facebook Ads Manager. It is a tool that helps you measure how effective your advertising is by understanding the actions people take on your website.
Why do new sellers use it?
[NEW] Datasets
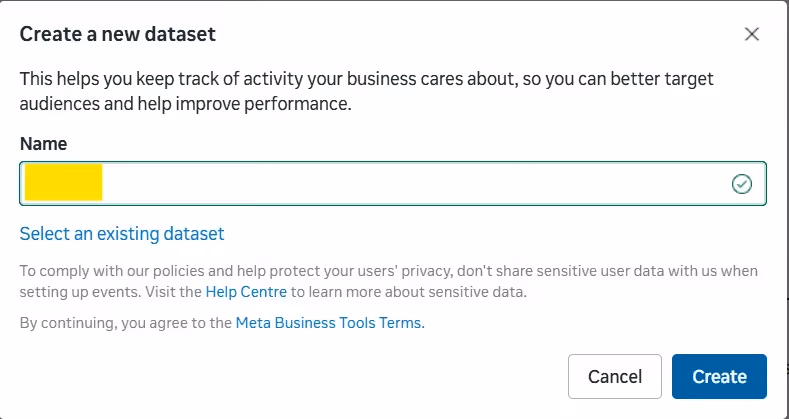
In Meta Events Manager, a Dataset is a container that holds your event data. Previously, you might have managed a "Pixel ID" separately from an "Offline Event Set." Now, Meta groups these into Datasets.
• Why it matters: You must connect your Dataset to your Ad Account. This ensures that the data your Pixel/CAPI collects is actually available for your ad campaigns to use.
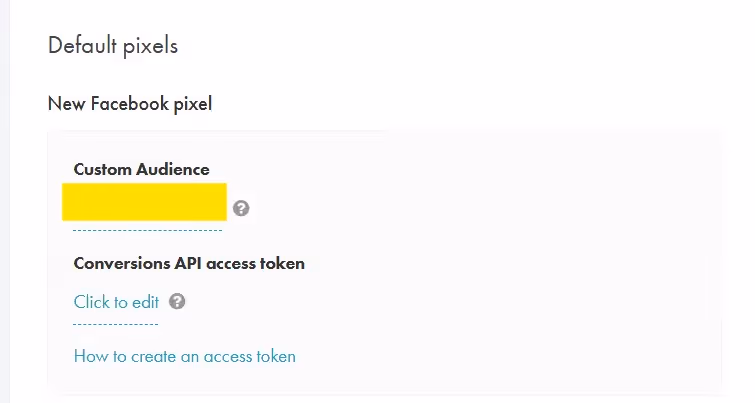
In the past, you had to mess around with complicated code. Not anymore! GearLaunch uses a Partner Integration, which connects your store to Meta seamlessly. This is the recommended method because it is easier to set up and reduces errors.
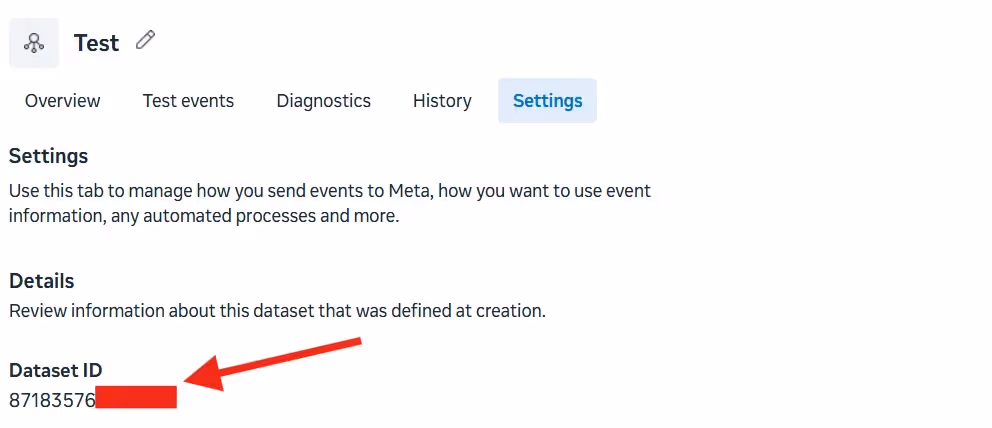
💡 While you can set up pixels for specific campaigns, we recommend setting up this "Store Pixel" first. It tracks everything happening across your entire store, giving you the best data.
After connecting your Pixel (Dataset ID) to GearLaunch, it’s important to test whether events are firing correctly. Meta provides a built-in tool called Test Events in Events Manager.
Here’s how to test:
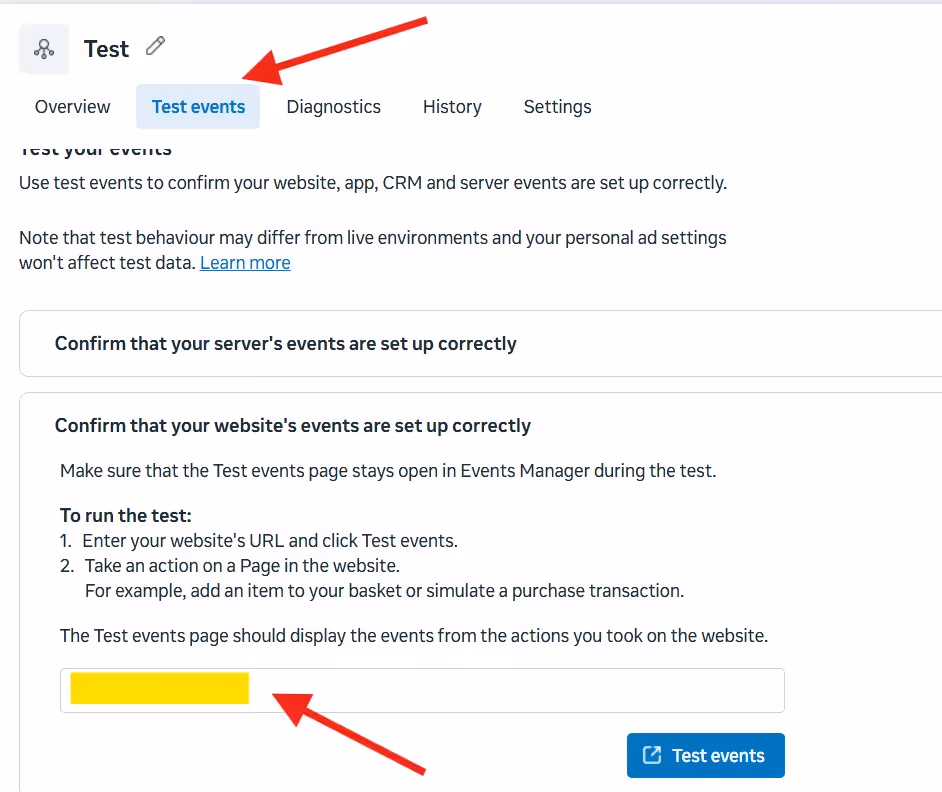
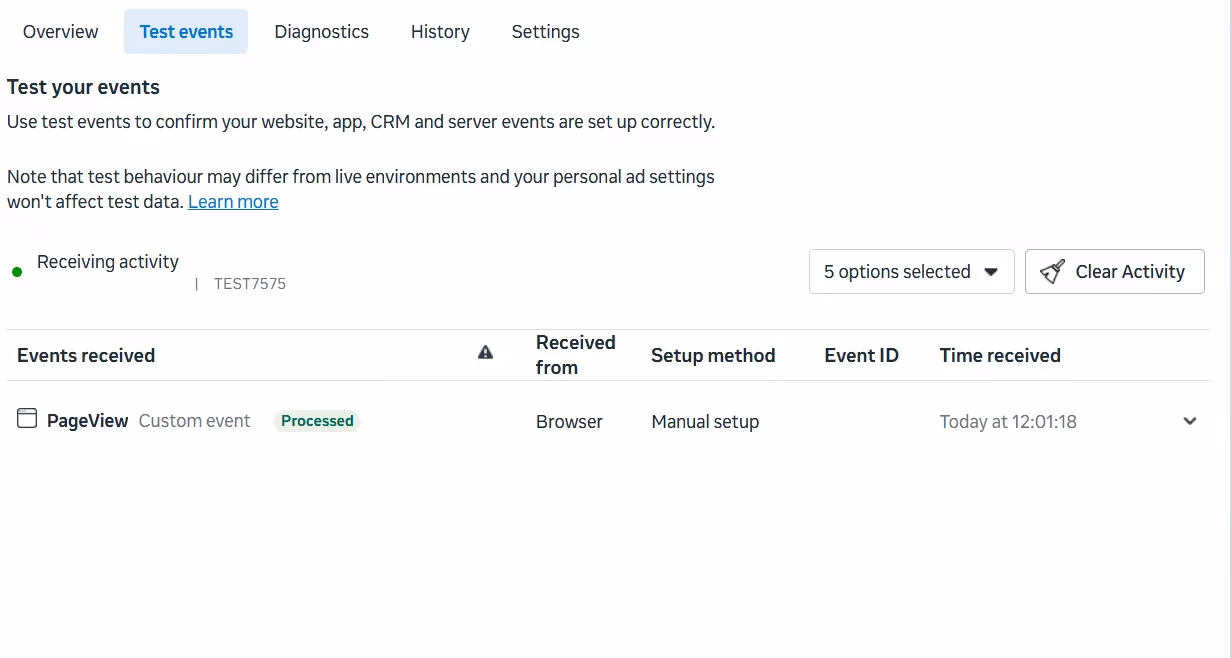
💡 Make sure the Test Events tab stays open while you interact with your site. Otherwise, Meta may not capture the test data.
Once installed, your Pixel will start reporting "Browser Events." These include:
The "Blind Spot" While the Pixel is great, it relies on the customer's web browser. If a customer is using an ad blocker, a VPN, or an iPhone with strict privacy settings (iOS 14+), the browser might block the Pixel from talking to Facebook.
This means you might make a sale, but your ad report won't show it. To fix this, successful sellers take one extra step.
To ensure your tracking is 100% reliable, Meta recommends using the Conversions API (CAPI) alongside your Pixel.
What is CAPI? While the Pixel tracks via the browser, CAPI tracks via the server. It sends purchase data directly from GearLaunch to Meta, bypassing ad blockers entirely. This ensures you capture more lost data and improve your ad performance.
👉 Click Here to Read the Full GearLaunch Conversions API (CAPI) Guide
Please follow that guide to generate your token and paste it into your GearLaunch dashboard alongside your Pixel ID.
By following these steps, you are building a data-driven foundation that will help you scale your business faster. Happy selling!


.svg)
.svg)
.svg)